

Simple ethereum wallet connect component using React
Connect to a wallet and display its address + ens name and avatar using React, Chakra UI and Ethers.js


Edit 08/2022:
Since a last wrote this article there's been a few tools that make it way easier to create a wallet connect feature. One of them is Rainbowkit which I highly recommend.
Original Article:
gm frens 🌞
We're going to be building the first step needed in any dapp: A button to connect our app to the blockchain.
For this project you don't need to know much about code but it will be easier if you have a basic understanding of Javascript and React
I'll try my best to explain everything in detail but if anything is unclear just ping me on Twitter @pixel_arts and I'll help you :)
We won't be setting up everything ourselves because that's fckn boring, we'll focus on what's fun so I created a quick base for you to use! You can either code in your browser using this Replit project or you can use this git repo locally - both are equally good, just hit the fork button on replit or on the repo to get started. Alternatively you can download the project's zip file here.
There is one thing you absolutely need for this project is MetaMask, here's what it is and how to set it up .
What are we building?
First let's list the stack we'll be using, definitely have a read through the docs if you haven't used these before:
- Node you'll need to have node installed
- React as base framework
- Chakra UI to get nice components
- Ethers to help us talk to the blockchain
Next let's agree on our project's goal, we want:
- A button that will ask the user's permission to read their wallet
- Once connected we want to display the wallet address on the page
Some cool bonus things we'll add later:
- If the wallet has an ens let's show it!
- What if the user has setup their ens with an avatar? let's show itttttt!!!!
What's ENS btw? It stands for Ethereum Name Service, think of it as DNS but for ethereum addresses:
- DNS does: domain.com -> 192.420.666.69
- ENS does: ensname.eth -> 0x0000000000000000000000000000000000000000
This should give us a good understanding on how to connect our website to the ethereum blockchain 👌. From this we can read a bunch of cool things from it, get NFTs, get tokens, create transactions etc...
1 - Base setup
Let the fun begin 🔥 first we need to install everything and launch our local server, run this in your terminal
npm install && npm start
You should be able to see the website on http://localhost:3000
Open the App.js file from the src folder, this is the file that contains the code for our entire page, this is the only place we will update for this project. You should see this inside it:
// App.js
import { Button, Flex, Text } from '@chakra-ui/react';

function App() {
  const connectWallet = async () => {
    // we will try to connect to a wallet here :)
  }

  return (
    <Flex
      alignItems='center'
      justifyContent='center'
      height='100vh'
      bg='purple.900'
    >
        <Button onClick={connectWallet}>Connect wallet</Button>
    </Flex>
  );
}

export default App;
What's going on here? We're importing Button as well as Flex from Chakra UI, we apply some styles to Flex to center our Button in the middle of the page. We also import Text as we'll use this later on.
The important thing here is the onClick handler on our Button, we will call connectWallet function every time users click on it.
At the moment there's nothing in the function so nothing will happen if you click on it :(
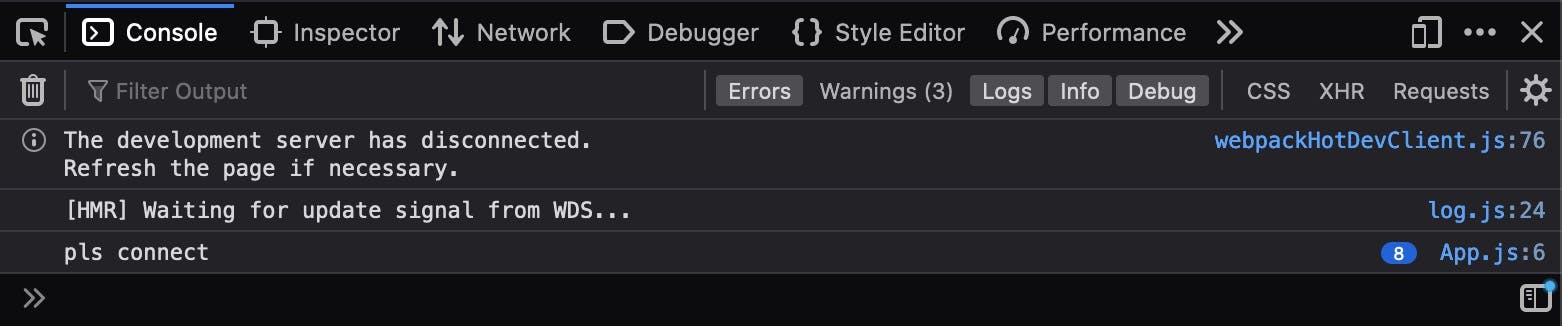
Try to add a console.log('pls connect') inside the function and you should see things happening in the console!!
Ok we've got the base setup, a function that is called anytime we click on a button, with this we can do pretty much anyyyyything LFG.

2 - Connect to the Ethereum blockchain
We're going to start using ethers a small and powerful library that will help us get lots of information from the blockchain. Read more here
Let's import it at the top of our App.js file:
// App.js
import { Button, Flex, Text } from '@chakra-ui/react';
import { ethers } from 'ethers';
With this we're going to be able to do so many things! Let's update our connectWallet function to connect to the blockchain:
const connectWallet = async () => {
    if (!window.ethereum) {
      alert('please install MetaMask');
      return;
    }

  try {
    await window.ethereum.request({ method: 'eth_requestAccounts' });

    const provider =  new ethers.providers.Web3Provider(window.ethereum);
    const signer = provider.getSigner();
    const address = await signer.getAddress();

    console.log('address', address)
  } catch (error) {
    console.log(error)
  }
}
So what is going on here? Let's go over each line:
if (!window.ethereum) {
  alert('please install Metamask');
  return;
}
Here we're checking if we have access to ethereum in our browser. Basically Metamask injects the ethereum object in our browser, and that's what we're going to use to talk to the blockchain. If window.ethereum doesn't exist it means the user hasn't got Metamask installed therefore we won't be able to display any info.
await window.ethereum.request({ method: 'eth_requestAccounts' });
Once we know the ethereum object exists in our browser we can connect to our wallet by calling the method eth_requestAccounts. This will prompt the MetaMask window asking the user for permission to read their accounts. Once they authorise the connection we will be able to read and display their address :)
const provider =  new ethers.providers.Web3Provider(window.ethereum);
const signer = provider.getSigner();
const address = await signer.getAddress();
To read information from the blockchain we somehow need to connect to it right? That's what the provider does, it will connect our application to a node (or multiple) so we can query information.
The signer is basically our account connected to MetaMask, when we do provider.getSigner() we're getting the current connected account.
Once we have access to the connected account we can get its address by await signer.getAddress()
Alright that's it, that was the most difficult part of it all. Once you understand this you're all set to build any kind of dapp 🎉
I'll give you a few resources you should definitely checkout to learn more about things work:
- async/await
- ethers.js docs
- MetaMask docs
- Web3Modal - You don't have to do everything from scratch :)
3 - Display the address, ENS name and avatar
Ok let's go super saiyan nothing can stop us anymore, we know how to connect to the blockchain and read the connected address, let's show it to the world and you know what? let's even show the ENS name and avatar attached to it (if any)!!!

We're going to import useState from React at the top of our App.js which is handy to store state and to update our component when the state changes - once we store the address we want to hide the button and show the wallet address.
import { useState } from 'react';
Now we'll create an account object that will be stored in our component's state. The initial state will be an empty object {} as the user needs to connect first.
const [account, setAccount] = useState({});
Perfect, we're now ready to show the connected address to the user! In our connectWallet function - just under const address = await signer.getAddress(); we're going to add two lines that will retrieve the account's ens name and avatar.
const ens = await provider.lookupAddress(address);
const avatar = await provider.getAvatar(ens);
Kind of the same thing as before right, we ask our provider to lookup this address, it will return the ens name if there's one attached to it and we'll do the same to get the avatar.
Once we have the address, the ens and the avatar, we can store this information in our components state we created earlier, inside the account object.
setAccount({
  address,
  avatar,
  ens
});
Here's how you file should look like so far:
// App.js
import { Button, Flex, Text } from '@chakra-ui/react';
import { ethers } from 'ethers';
import { useState } from 'react';

function App() {
  const [account, setAccount] = useState({});

  const connectWallet = async () => {
    if (!window.ethereum) {
      alert('please install Metamask');
      return;
    }

    try {
      await window.ethereum.request({ method: 'eth_requestAccounts' });

      const provider =  new ethers.providers.Web3Provider(window.ethereum);
      const signer = provider.getSigner();
      const address = await signer.getAddress();
      const ens = await provider.lookupAddress(address);
      const avatar = await provider.getAvatar(ens);

      setAccount({
        address,
        avatar,
        ens
      });
    } catch (error) {
      console.log(error)
    }
  }

  return (
    <Flex
      alignItems='center'
      justifyContent='center'
      height='100vh'
      bg='purple.900'
    >
      <Button onClick={connectWallet}>Connect wallet</Button>
    </Flex>
  );
}

export default App;
But wait if you click the button and connect your MetaMask nothing changes on the screen which is 👎 Our react app has access to all the necessary information so let's fix it!
Basically we want to show the button when we do not know the wallet address and show the wallet address when we know it, sounds good?
Our wallet address is stored inside account, we can access it like so: account.address
<Flex
  alignItems='center'
  justifyContent='center'
  height='100vh'
  bg='purple.900'
>
  {account.address ? (
    <Text color='white'>{account.address}</Text>
  ) : (
    <Button onClick={connectWallet}>Connect wallet</Button>
  )}
</Flex>
That should do the trick, you should now see your connected address instead of the button! Don't forget we're storing the ens name and avatar, so let's show these as well. With a bit of help from Chakra we're able to make it look nice:
import { Avatar, Box, Button, Flex, Text } from '@chakra-ui/react';
import { ethers } from 'ethers';
import { useState } from 'react';
const shortenAddress = (address) => {
return `${address.slice(0, 4)}...${address.slice(
address.length - 4,
address.length
)}`;
}
function App() {
const [account, setAccount] = useState({});
const connectWallet = async () => {
if (!window.ethereum) {
alert('please install Metamask');
return;
}
try {
await window.ethereum.request({ method: 'eth_requestAccounts' });
const provider = new ethers.providers.Web3Provider(window.ethereum);
const signer = provider.getSigner();
const address = await signer.getAddress();
const ens = await provider.lookupAddress(address);
const avatar = await provider.getAvatar(ens);
setAccount({
address,
avatar,
ens
});
} catch (error) {
console.log(error)
}
}
return (
<Flex
alignItems='center'
justifyContent='center'
height='100vh'
bg='purple.900'
>
{account.address ? (
<Box
maxW='sm'
borderRadius='3xl'
p='5'
bg='white'
textAlign='center'
>
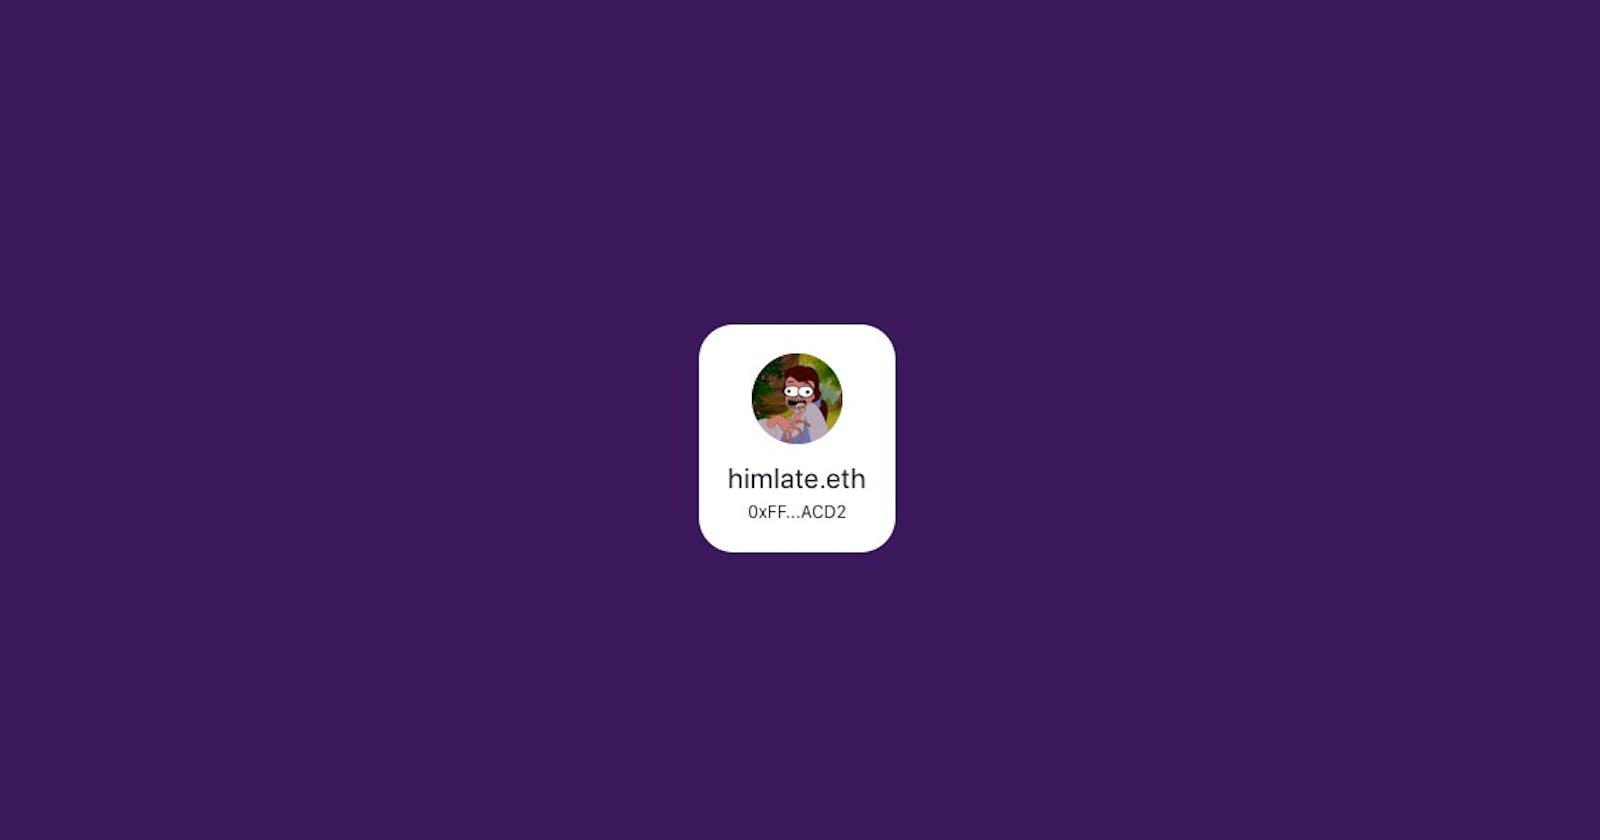
<Avatar name={account.ens} src={account.avatar} size='lg' mb='2' />
{account.ens && (
<Text fontSize='xl'>{account.ens}</Text>
)}
<Text fontSize='xs' title={account.address}>{shortenAddress(account.address)}</Text>
</Box>
) : (
<Button onClick={connectWallet}>Connect wallet</Button>
)}
</Flex>
);
}
export default App;
That's it, you just managed to do the most important step to any dapp out there:
- ask permission to read from an account
- communicate with a provider
- retrieve and show the account's address
- look for any ens info attached to that account
💅 There are a couple of things you could improve on your own now:
Notice how when you refresh the page you have to click on the button again even though we already gave permission? Have a look at Ethers/MetaMask docs to see if there's any way to know if an account is already connected? We could check this first when loading the app!
Instead of having a button, could we ask for permission as soon as users land on the app?
You can see we're not doing anything in the catch, it would be good to display an error to the user instead of logging it inside the console.
btw the whole code is available in the repo's solution branch
🤓 A few more things for you to read:
- React - if you're not familiar with it yet I recommend you to read through the docs
- React useEffect - Try to understand the useEffect hook as you will need it for a lot of components
- async/await - Really important concept to understand
- ENS - Get yourself a sweet ens domain if you don't have one already :)
If you have any feedback or questions ping me on Twitter @pixel_arts 💖